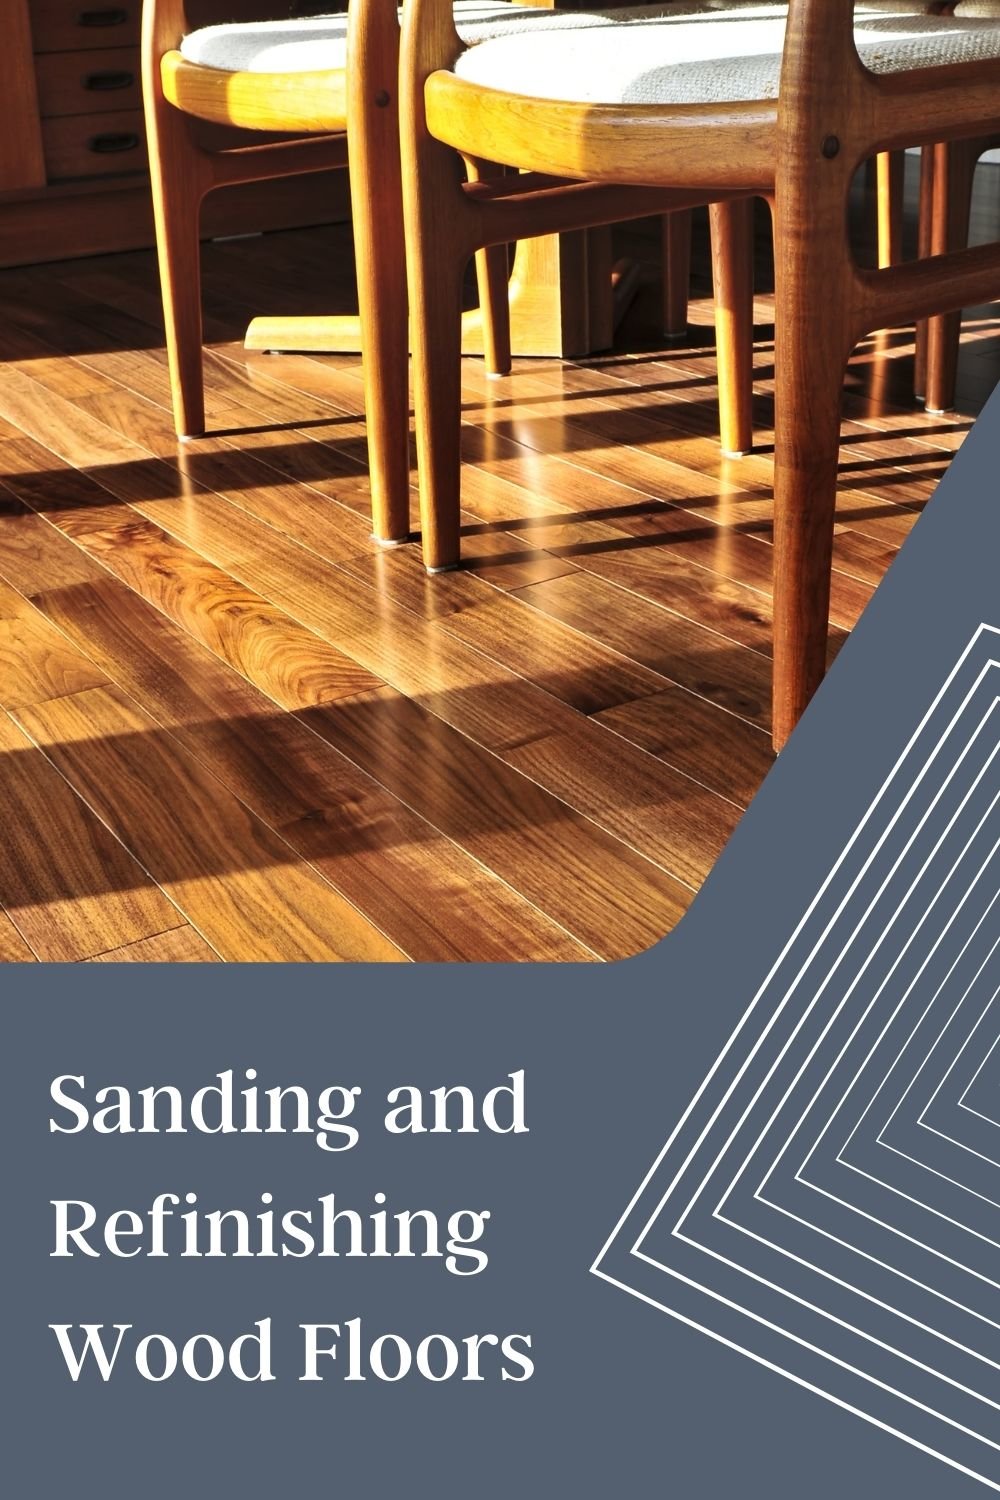
A beautifully smooth and shiny wood floor is one of life’s little delights and if you haven’t been able to experience that joy with your wood floor lately due to scratches, dents and stains, take heart. With some sanding and refinishing, you can stop cringing each time you walk through your home and be happy to have visitors see your floor instead of hiding it with rugs.
Wood floors that are able to be sanded and refinished include hardwood (solid planks of wood such as oak, maple, walnut, beech and cherry), engineered wood (plywood core planks with a thin layer of hardwood on top), floor boards (soft wood like pine) and patterned wood (like herringbone parquet and finger block mosaic). The methods used to refinish the floor depends on the direction of the wood grain. And engineered wood has a thin layer of hardwood so it can’t be sanded and refinished more than once or twice before exposing the plywood core.
DIY or use a professional?
Hiring a professional who has lots of experience and the right materials to do a good job is, of course, the best option, but if your budget doesn’t allow that luxury or you just want to do the task yourself, the following information will help you be aware of how much work is involved in properly completing this project. And there’s no shame in starting the work and realizing you’re in over your head. Unless your sander got stuck in one spot and you accidentally dug a hole in your floor, most mistakes can be fixed.
Do your research before committing
There are lots of videos on the internet with directions for sanding and refinishing wood floors. Some make it seem like the job can be done quickly, easily and inexpensively. But unless you know exactly what you are doing, even a small area will take time to sand and refinish properly. So be sure to research thoroughly before starting the task.
Just keep sanding, sanding, sanding…
After obtaining the belt and corner sanders, figuring out how to use them and buying all the sandpaper in multiple grits, start sanding diagonally across the wood grain with the coarsest grit sandpaper. There’s a trick to sanding well to avoiding chatter marks (which happen when the sandpaper is loose) and drum marks (which happen when the sander drum touches the floor when the sander is not in motion or is left in one place). These can be fixed and avoided with practice. And, if you can do it, walking backwards while sanding extends the life of the sandpaper.
Change to a finer grit (60-80) and sand with the wood grain to remove diagonal scratches. It is worth the effort to sand the floor down to get all the dents and dings out. And empty the dust bag when half full for best efficiency.
Change to the disk sander and get the corners and edges, being careful to stay level and not angling the sander down which creates dips in the wood. Sanding perpendicular to the wall with occasional parallel motions helps keep the edges at a similar level as other areas of the floor.
Before sanding/buffing one last time with the finest grit sandpaper, you can make a soup of wood dust from your bag and a liquid filler mix and smooth it over the floor, filling seams and any uneven sections. This quick-drying mixture ensures an even, professional-looking surface.
Vacuum slowly and thoroughly before applying the first layer of your preferred stain or protectant. Lacquer is basically a plastic protective coating and an oil finish is pressed and hardening oils that create a natural matte appearance. When dry, gently buff the floor with the finest grit sandpaper, vacuum and apply a second coat. Then enjoy your beautiful "new" floor!
Posted by Guy Amato on
Leave A Comment